These DIY hose guides are a great way to keep your hose from trampling your plants. They can be made for a fraction of the cost of a retail set.
I have really large garden beds in my front and back yard. Some are easy to manage as far as the hose goes and others have paths in them that really require hose guides to keep the hose off my plants.
I priced hose guides recently and found them a bit pricey for my liking. I had made some hose guides out of rebar and plastic balls several years ago and they were very basic.
I wanted to redo them to go along with my new Southwest Garden Bed so I came up with this DIY Hose Guides project.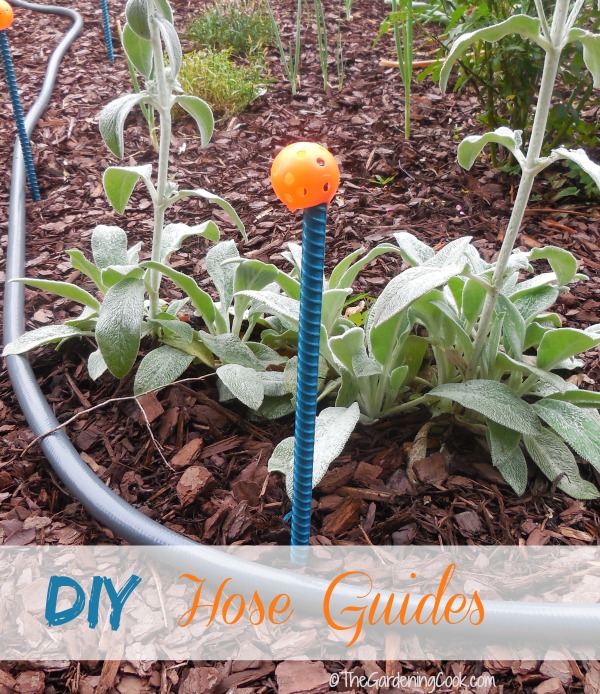
Protect Your Plants with the DIY Hose Guides
The colors that I am using for decoration in my new garden bed are turquoise and rust.
Originally I tried to spray paint the heads of these to match but the paint just would not stick, so I settled for some inexpensive plastic balls in a bright orange instead.
It goes along pretty well with the terra cotta pots in my South West corner, so I am happy with the way they ended up.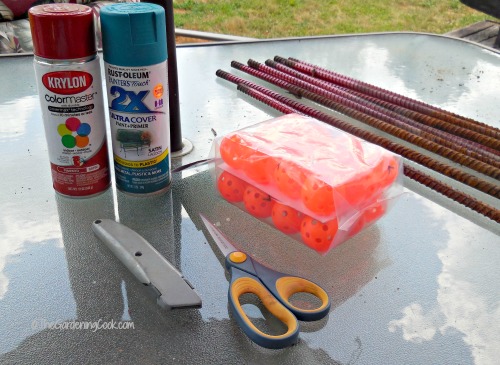 First, I assembled my supplies. To do this project, I needed these items:
- 12 pieces of re-bar, cut to 16″ lengths. (I wanted the extra height for my garden bed but you could go shorter if you wanted.)
- 1 package of brightly colored plastic golf balls
- 1 can of turquoise Rustoleum spray paint (I was going to use the red rust color to spray the balls but don’t bother with this, it won’t work.
- Exacto knife or pair of scissors
- Container of wet garden soil
- Hammer
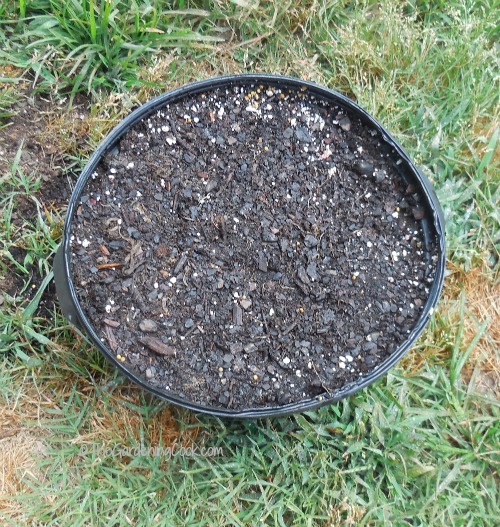 The first thing that I did was fill a 10 gallon pot of soil and made sure the it was very wet. I used this to insert the re-bar for spraying.
Be sure to wet the soil. If you don’t, the re-bar will topple over and mess up the paint. (don’t ask me how I know this!) Use an old pot you don’t care about.
It will end up with paint residue on it. (don’t ask me how I know this either. LOL)
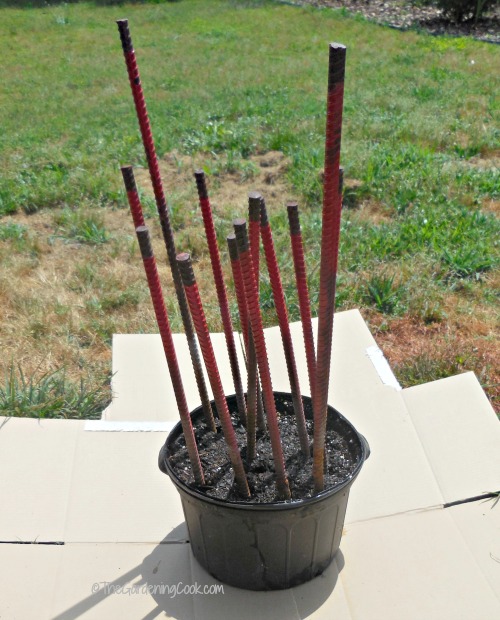 Lay out some pieces of cardboard and insert the re-bar about 5 inches apart into the soil. The bottom part of the re-bar does not need painting, since it will be hammered into the soil.
 Spray the re-bar, being sure to move around the container so that you will get all areas of the re-bar coated with the paint.
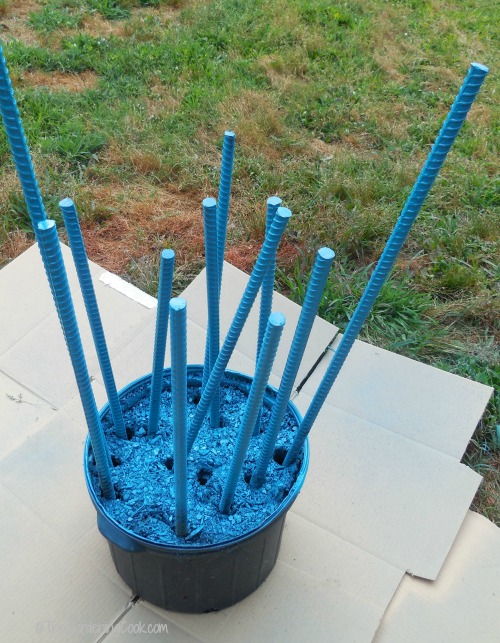 Leave the sprayed re-bar to dry completely. Mine took only one coat of paint and it covered well.
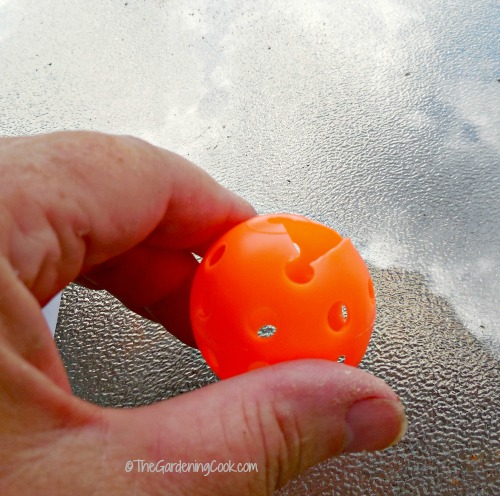 While the paint is drying, use the exacto knife or your scissors to cut a small hole into the underside of the plastic ball.
It will need to be big enough to fit over the piece of re-bar but tight enough so that the ball fits snugly.
 I tested mine after I cut one ball to make sure the size of the hole was correct. Mine was about the size of the tip of my thumb.
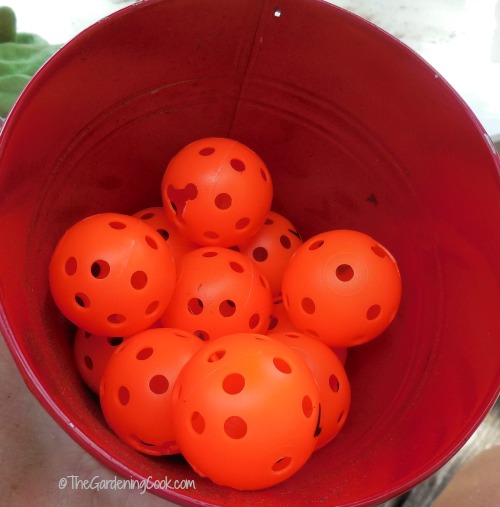 When you are done, you will have 12 notched balls, all ready to make into hose guide heads.
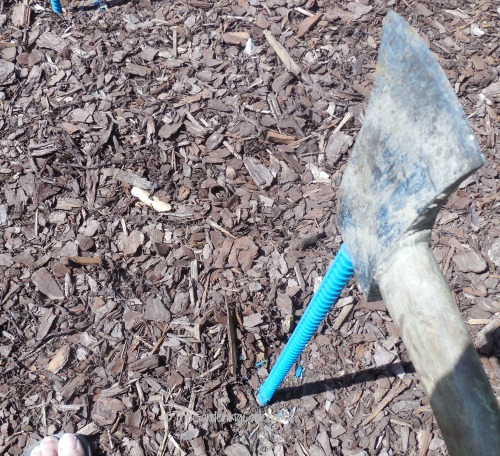 Use some string of a piece of old hose to lay out the area where you want your hose guides to sit. Once you are happy with the placement of the re-bar, hammer it in.
It is important to lay it out well, since the re-bar will be hammered down into the earth quite a depth and it’s hard to get out if you put it in the wrong place.
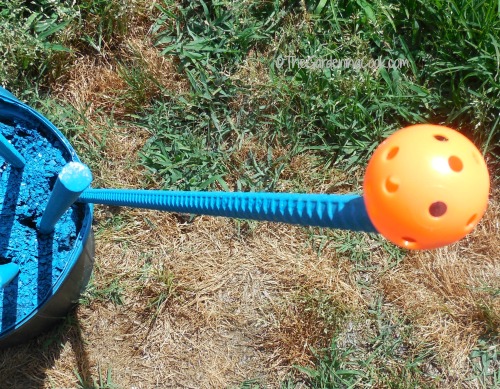
Once you have all the re-bar in place, take the plastic balls and firmly push them over the top of the re-bar.
The colorful hose guides will make it easy to spot and the height of them will protect your plants well.
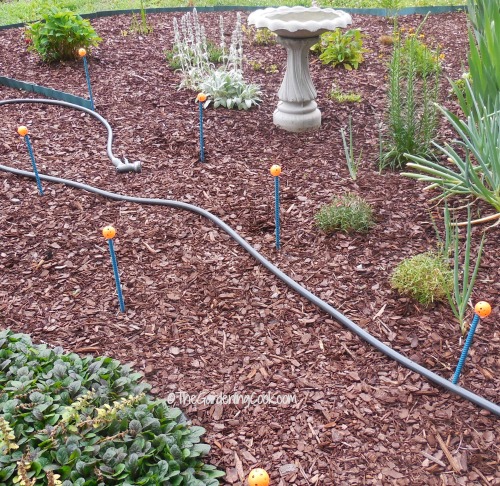 I had mine about 3 feet apart on the path and placed a piece of re-bar every 3 feet so that the were even.
This placement gave me a total path on both sides and some for the corners where the hose really does damage to my plants. 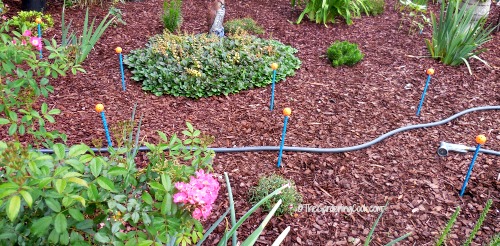 The bright colors of the hose guides will make sure that I don’t trip over them, which is something that I did often before I painted them.
The original ones were the color of the mulch and I have tripped on them more times than I can count!
What do you use in your garden for hose guides?
17 responses to “DIY Hose Guides – Easy Gardening Project”
Very cool, I liked it a lot. Congratulations for the text. I really liked it, I’ll try it here. thank you for sharing with us.
How interesting I love plants, and it got super cute too Congratulations Carol.
Thanks for sharing this informative and inspirational article.I have a large garden and this content is just I’m searching for. Your blog is awesome.
Hope to see more of this kind of post again and again.
http://removertatuagemdefinitiva.com.br/
Saying thanks will not just be sufficient, for the exceptional clarity in your writing. I will immediately grab your rss feed to stay privy of any updates.
I did and it was amazing. I loved the result. Thanks for sharing, I love your blog.
Thanks Como. Glad you enjoy my posts! Carol
Hehehe this is very interesting. I’ll try and then come back here to tell you how the result was 🙂
Simple, practical and delicious. I loved the result. Thanks for sharing!
My pleasure Yanka. Carol
this is very interesting. I’ll try and then come back here to tell you how the result was, it will be great.
I love gardening, because my backyard is full of flowers, but there, in those blue irons, is there any illumination at night?
Hi Nivia No, there is no lighting in them. Carol
I love gardening, this is very interesting
Congrats for the job. I love plants, gardering, etc.
I loved your idea Carol, I’ll do the same thing in my grandmother’s yard, because she drags the hose anyway and leaves hurting the kkkkk plants, very creative … hug.
Thanks Tom. Glad you liked the idea. Carol
I loved your idea Carol